12 di 12
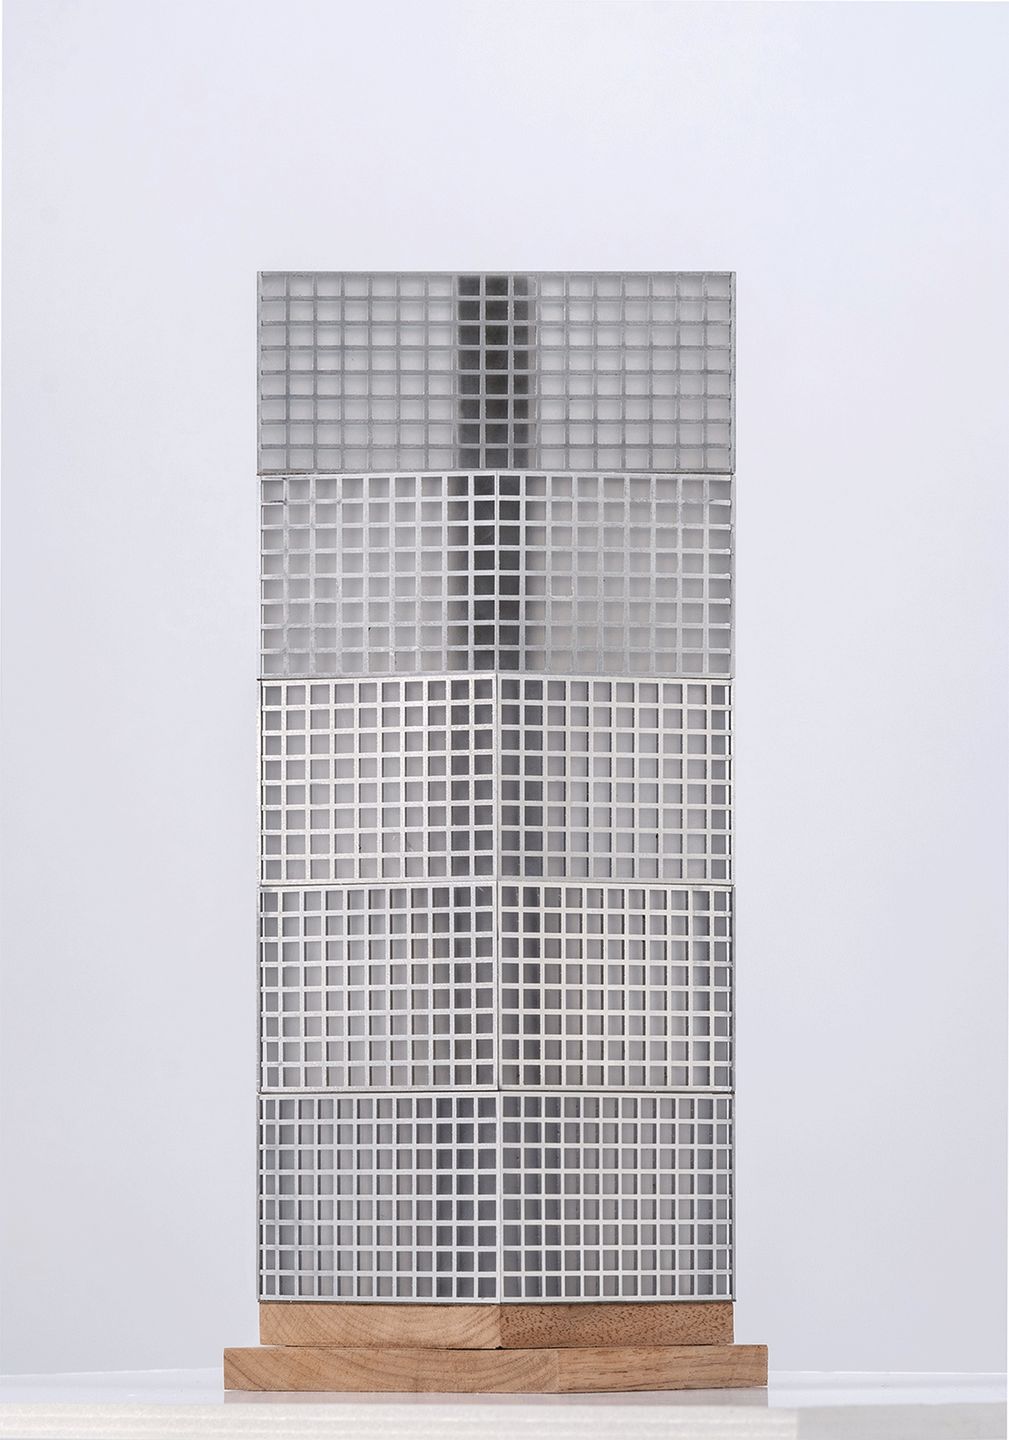
Image courtesy of OMA
(OMA)
Image courtesy of OMA
In Primo Piano
Fire retardant Accoya


